
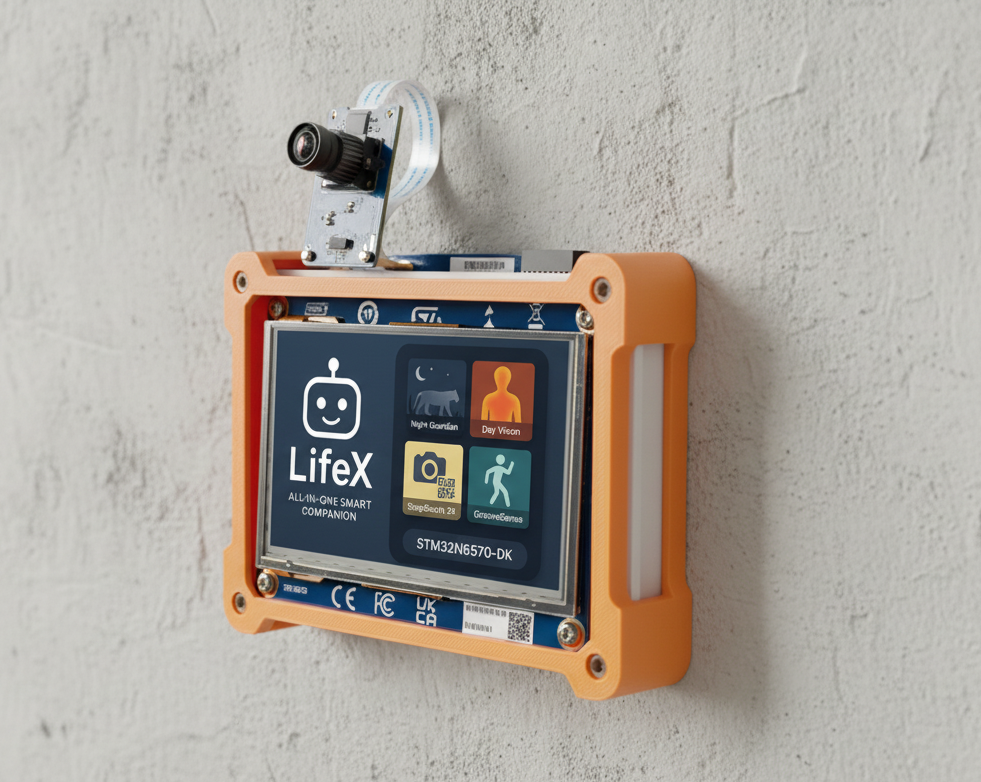
LifeX – The All-in-One Smart Companion on STM32N6570-DK
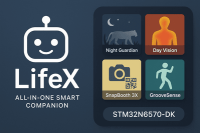
LifeX is an all-in-one smart companion built on the STM32N6570-DK, combining security, monitoring, fun, and music into a single system. From detecting wildlife at night, tracking personnel during the day, snapping creative photobooth pictures, to sensing your dance moves and playing matching music — LifeX transforms a development board into a versatile, interactive, and intelligent daily companion.
LifeX – The All-in-One Smart Companion on STM32N6570-DK
Why I Built LifeX
- At night, it should keep me safe.
- During the day, it should help with personnel tracking.
- In free time, it should let me have fun with friends.
- And when I want to relax, it should even play music based on my moves.
Features in LifeX
- Night Guardian
- Detects wild animals (like tigers) at night.
- Logs detection events with timestamps.
- Acts as a mini security system.
- Detects wild animals (like tigers) at night.
- Day Vision
- Applies a heat-vision style filter to highlight people.
- Logs personnel faces for attendance/security.
- Applies a heat-vision style filter to highlight people.
- SnapBooth 3X
- Takes 3 fun photos with filters.
- Generates a QR code to download the pictures from an ESP32 server.
- Takes 3 fun photos with filters.
- GrooveSense
- Detects dance movements.
- Plays music that matches the style of movement.
- Detects dance movements.
How I Built LifeX
Hardware
- STM32N6570-DK board
- Camera module
- ESP32 (for photobooth QR hosting)
- Speaker/headphone output
Software
- STM32CubeIDE
- TouchGFX Designer
- STM32CubeProgrammer
Project Structure
├── nightguardian_screen/ # Night Guardian App
├── dayvision_screen/ # Day Vision App
├── snapbooth_screen/ # Photobooth
└── groovesense_screen/ # Mood Music
Edge Impulse
Understanding the files
- network_data.hex → Compiled weights for STM32 (X-CUBE-AI runtime).
- Hex is basically a binary dump you cannot directly include in C code.
- Hex is basically a binary dump you cannot directly include in C code.
- What we need → network_data.c and network_data.h:
- .c contains the byte array of the model.
- .h contains function declarations and constants.
- .c contains the byte array of the model.
- Open your project on Edge Impulse Studio.
- Go to Deployment → STM32Cube.AI.
- Click Build or Download for STM32Cube.AI.
- You’ll get a ZIP containing something like:
- network_data.c → contains your model weights in a const unsigned char network_data[].
- network_data.h → contains extern declaration and some helper macros.
- The network will output 4 classes, based on the labels you set in Edge Impulse (boar, tiger, deer, elephant).
float input[INPUT_SIZE]; // your preprocessed sensor/image data float output[OUTPUT_SIZE]; // 4 classes
ai_network_run(network, input, output);
// Map output to labels const char* labels[4] = {"boar", "tiger", "deer", "elephant"}; int max_idx = 0; for (int i=1; i<4; i++) { if (output[i] > output[max_idx]) max_idx = i; }
printf("Predicted: %s\n", labels[max_idx]);
- Open the Project in STM32CubeIDE.
- Load TouchGFX Designer and open contest_Project_hBz.touchgfx.
- Generate code for the GUI.
- Build the firmware inside CubeIDE.
- Flash it to the STM32N6570-DK with CubeProgrammer.
- Run the board – the App Manager appears first, then I can switch between apps.
My Future Plans
- Add ML-based detection for better accuracy in Night Guardian & Day Vision.
- Enable cloud connectivity for remote monitoring.
- Add more creative filters to SnapBooth.
- Integrate online music streaming in GrooveSense.
Want to build a project?
Bring your design to life with the Elektor PCB Service, powered by Eurocircuits. Upload the project files and order professionally manufactured PCBs or assembled boards through a proven European production platform.
Supporting KiCad, Eagle, Gerber, and ODB++ formats, the service is suitable for everything from prototypes and validation builds to series production and volume manufacturing.
Made in Europe. Fast. Reliable. Professional.
Diskussion (0 Kommentare)